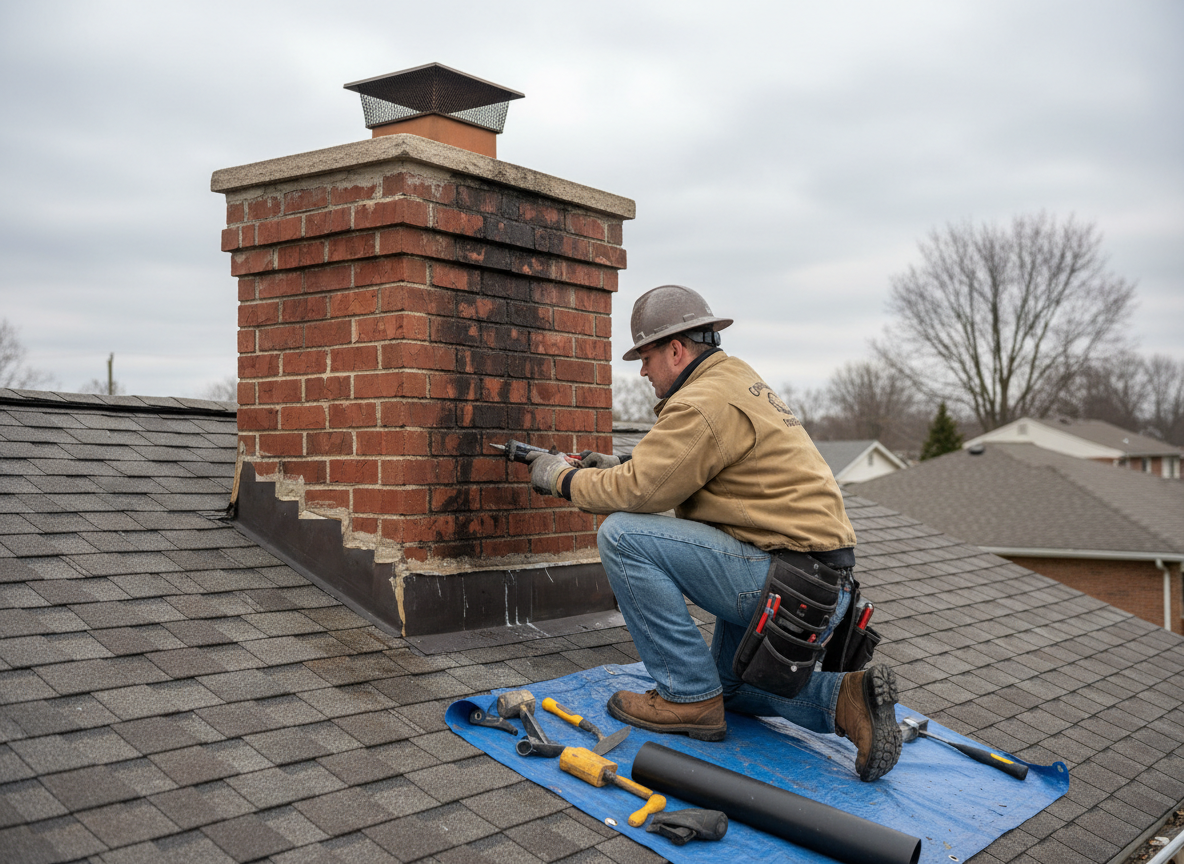
Chimney leaks in Centerville often trace to failed step flashing where the chimney meets the roof or to cracked crowns that let water into the flue liner. Older brick homes here, many built before 1980, use lime mortar that erodes under repeated freeze-thaw cycles, allowing moisture to migrate behind the brick and stain ceilings or rot rafters. Proper repair requires removing loose material, installing new stainless flashing with correct overlap, and rebuilding the crown with a slope that sheds water rather than pooling it.
Access on two-story Centerville homes frequently means working from the roof edge rather than scaffolding, which changes both safety steps and the time needed to match existing brick color and joint profile. We also check the chimney chase for water that has already entered and soaked insulation, because simply sealing the exterior without addressing interior moisture leads to recurring stains the next heavy rain.
Local building practices in the Centerville area sometimes left chimneys without cricket saddles on wider roofs, so water backs up against the uphill side during storms. Repair work includes adding a cricket when the roof pitch and chimney width make it necessary, then integrating new underlayment and shingles so the fix does not create a new leak path at the edges.
Seasonal Considerations
Centerville winters bring ice that expands in any open joint, widening cracks that only show as leaks once spring thaws arrive. Scheduling inspection after the first hard freeze but before heavy spring rains lets us catch and correct these issues while access is still dry.
Technician insight
In Centerville, the thing that catches most people out with chimney leak repair is how often the leak is actually coming from the crown or back side of the chimney rather than the obvious front flashing, especially on the older brick homes that dominate neighborhoods west of I-675 where wind-driven rain hits hardest.
Ceiling Stain After Winter Storm
Water stains appeared on the second-floor ceiling of a Centerville home following repeated freeze-thaw cycles. Inspection showed deteriorated crown and missing step flashing on the north side. We removed the old crown, installed new stainless flashing with cricket, and rebuilt the crown with sloped mortar. The ceiling dried out and no further staining occurred the following spring.
How it works
- 1
Site Inspection
We examine the chimney crown, flashing, and mortar joints from the roof and interior access points to locate active leak paths.
- 2
Diagnosis and Scope
Findings are documented with photos and explained on site so the homeowner understands which components must be replaced versus repaired.
- 3
Material Removal and Prep
Deteriorated mortar, old flashing, and damaged crown sections are removed to sound substrate before new work begins.
- 4
Repair Installation
New stainless flashing, rebuilt crown, and repointed joints are installed with attention to slope, overlap, and color match to existing masonry.
- 5
Final Check and Cleanup
Water testing confirms the seal, debris is removed from the roof and yard, and the homeowner receives a written summary of work performed.
Pricing
Upfront written estimates after inspection; final price depends on chimney height, extent of interior damage, and whether a cricket or liner work is required.