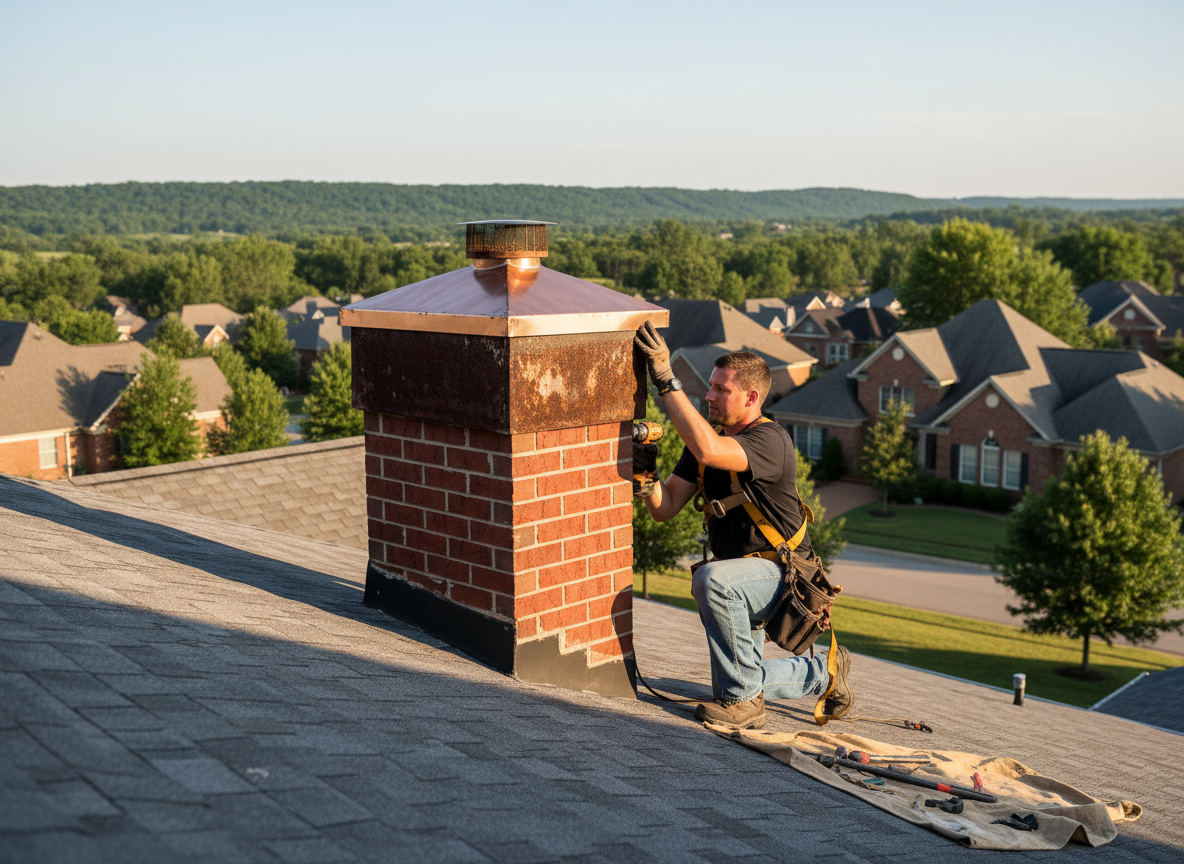
Chimney caps in Centerville often fail from repeated freeze-thaw cycles that crack mortar and loosen the crown on mid-century brick stacks common throughout the area. Stainless steel or copper replacements must seat properly over the flue to block rain, snow, and downdrafts while still allowing proper exhaust. Poorly fitted aftermarket caps can restrict draft or trap creosote, raising carbon monoxide risk inside the home.
Access on two-story Centerville homes frequently requires extension ladders placed on uneven driveways or side yards rather than scaffolding. Technicians check for hidden flashing damage and mortar deterioration around the crown before any cap swap, because replacing only the cap leaves water intrusion points untouched. Code requires the cap to sit at least three inches above the flue liner and extend beyond the chimney walls to prevent nesting and ember escape.
Common Failure Points
Centerville chimneys built before 1980 often have single-wall tile liners that shift slightly each winter, misaligning the original cap. Homeowners notice water stains on the firebox floor or white efflorescence on exterior brick after heavy spring rains. Addressing the cap alone without checking the crown and flashing usually leads to repeat service calls within two seasons.
Seasonal Timing
Most Centerville calls for cap repair come after the first hard freeze when ice expands inside the flue and pops the old cap loose. Scheduling before November allows crews to work in daylight and avoids the backlog that hits once snow arrives. Early replacement also prevents animals from nesting during the mild fall weeks typical here.
Technician insight
In Centerville, the thing that catches most people out with chimney cap repair is how quickly single-wall tile liners shift after a few hard freezes on 1960s and 1970s homes around the Cornerstone area. Homeowners often replace just the cap and miss the crown cracks that let water run straight down the flue, turning a simple cap job into a full liner repair later.
Missing Cap After Early Freeze
A Centerville homeowner noticed water stains on the fireplace hearth after the first November freeze. Inspection showed the original galvanized cap had blown off, exposing the flue and allowing ice to form inside the tile liner. The crew removed the broken hardware, repaired minor crown mortar, and installed a new stainless cap sized to the existing flue. No further water intrusion occurred through the rest of the winter.
How it works
- 1
On-Site Assessment
Technician inspects the existing cap, crown, and flashing from the roof, noting any liner misalignment or mortar cracks common on Centerville brick chimneys.
- 2
Cap Removal
Old cap and any rusted hardware are detached, with debris cleared from the flue top to restore full draft.
- 3
Crown And Flashing Check
Mortar joints and step flashing are examined and repaired if water has already penetrated, preventing future leaks into the attic.
- 4
New Cap Installation
A properly sized stainless or copper cap is secured with corrosion-resistant fasteners and sealed at the base to match the existing chimney dimensions.
- 5
Final Draft Test
A smoke test confirms exhaust flow and verifies the cap does not create backdraft conditions inside the home.
Pricing
Cost depends on chimney height, cap material, and whether crown repairs are needed at the same time.