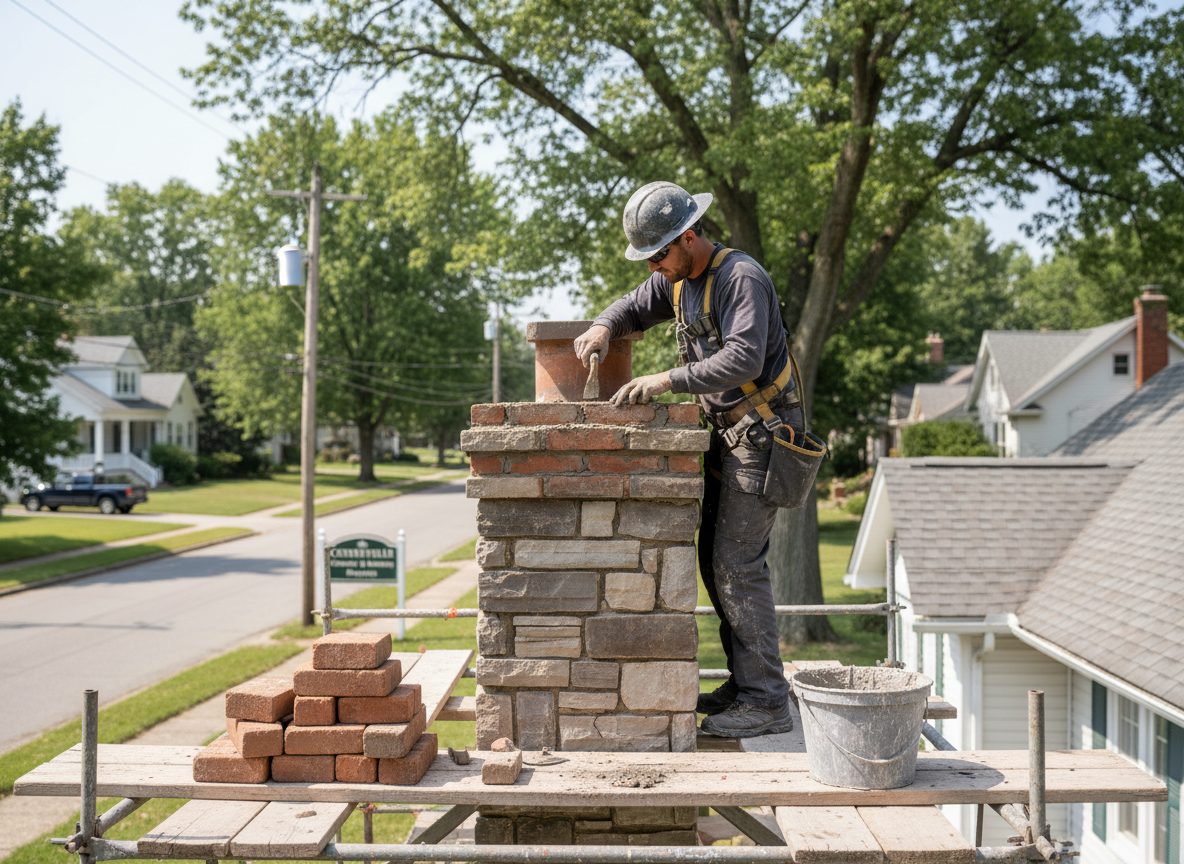
Centerville homes often feature masonry chimneys built alongside ranch and two-story houses from the postwar decades. Freeze-thaw cycles common to the region drive water into mortar joints and flue tile, causing spalling and separation that allows smoke and water to enter living spaces. Axis Wrench technicians inspect the crown, flashing, and liner condition first, then address the specific failure point rather than applying surface patches that fail within one winter.
When a chimney leans or shows stepped cracking, the cause frequently traces to differential settlement on the clay-heavy soils found in many Centerville subdivisions. Repair requires rebuilding the affected stack section with proper through-wall flashing and a new concrete cap sloped for drainage. Technicians also check the attic for hidden water staining before closing the job, because roof leaks around the chimney often go unnoticed until insulation damage appears.
Gas appliance venting adds another layer. Many Centerville residences converted from oil or wood to natural gas yet retained original clay liners that are now oversized for the lower flue-gas temperatures. A proper repair may involve installing a stainless-steel liner sized to the appliance, along with a chimney-top damper that seals tightly against winter wind. Skipping this step leads to condensation and corrosion that shortens liner life.
Common Failure Points in Local Chimneys
Homeowners in Centerville frequently overlook the crown and step flashing until interior stains appear. Regular inspection after heavy rain or snow melt prevents small cracks from becoming full rebuilds.
Technician insight
In Centerville the thing that catches most people out with chimney repair is the clay soil under older foundations. When the stack settles unevenly the flashing pulls away even if the crown looks fine, and water finds the gap every spring thaw.
Settled Chimney on a Centerville Ranch
A homeowner noticed water stains on the family-room ceiling after a March thaw. Inspection revealed the chimney had settled on the south side, opening a gap at the step flashing. Crew rebuilt the lower six courses, installed new copper flashing, and added a properly sloped crown. No further leaks appeared the following winter.
How it works
- 1
Initial Inspection
Technician examines the exterior masonry, crown, flashing, and interior flue condition from the roof and cleanout.
- 2
Diagnosis and Quote
Findings are explained on site with photos and an upfront price for the recommended repair scope.
- 3
Material Preparation
Matching brick, mortar, and liner materials are staged so the repair blends with the existing chimney.
- 4
Repair Execution
Work proceeds with proper staging, debris containment, and weather protection until the chimney is watertight.
- 5
Final Walkthrough
Homeowner receives a written summary of work performed and maintenance recommendations for the next season.
Pricing
Upfront quotes are provided after inspection; final price depends on chimney height, extent of masonry damage, and liner requirements.